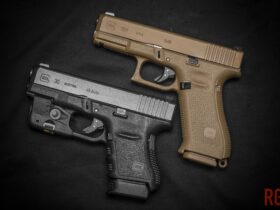
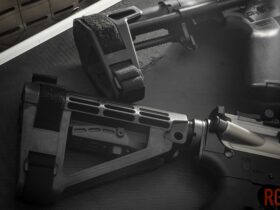
Chances are, most of your firearms are the same color scheme as they were when they left the factory. Your black rifles are black, your GLOCK 45 is a dark grey, and even your trusted Mossberg Cruiser shotgun is a dull grey parkerized finish.
Your weapons are black because it’s the most cost-effective finish that kind of applies almost everywhere. It’ll hide the day-to-day wear well, and also kind of blend into most environments. However, most of the time, a black rifle can easily be spotted, even if you yourself aren’t easily spotted.
Of course, you can refinish your firearm at a significant cost. A good Cerakote job on a standard-sized pistol can run north of $200 easily. Double that for a AR/AK-pattern pistol or rifle. And, if it’s your “daily driver” weapon, the Cerakote shop will charge extra for surface repairs and dings.
With the economy doing what it does, we have to be budget-friendly, so what’s a frugal Second Amendment Radical to do?
Easy – rattlecan that boomstick.
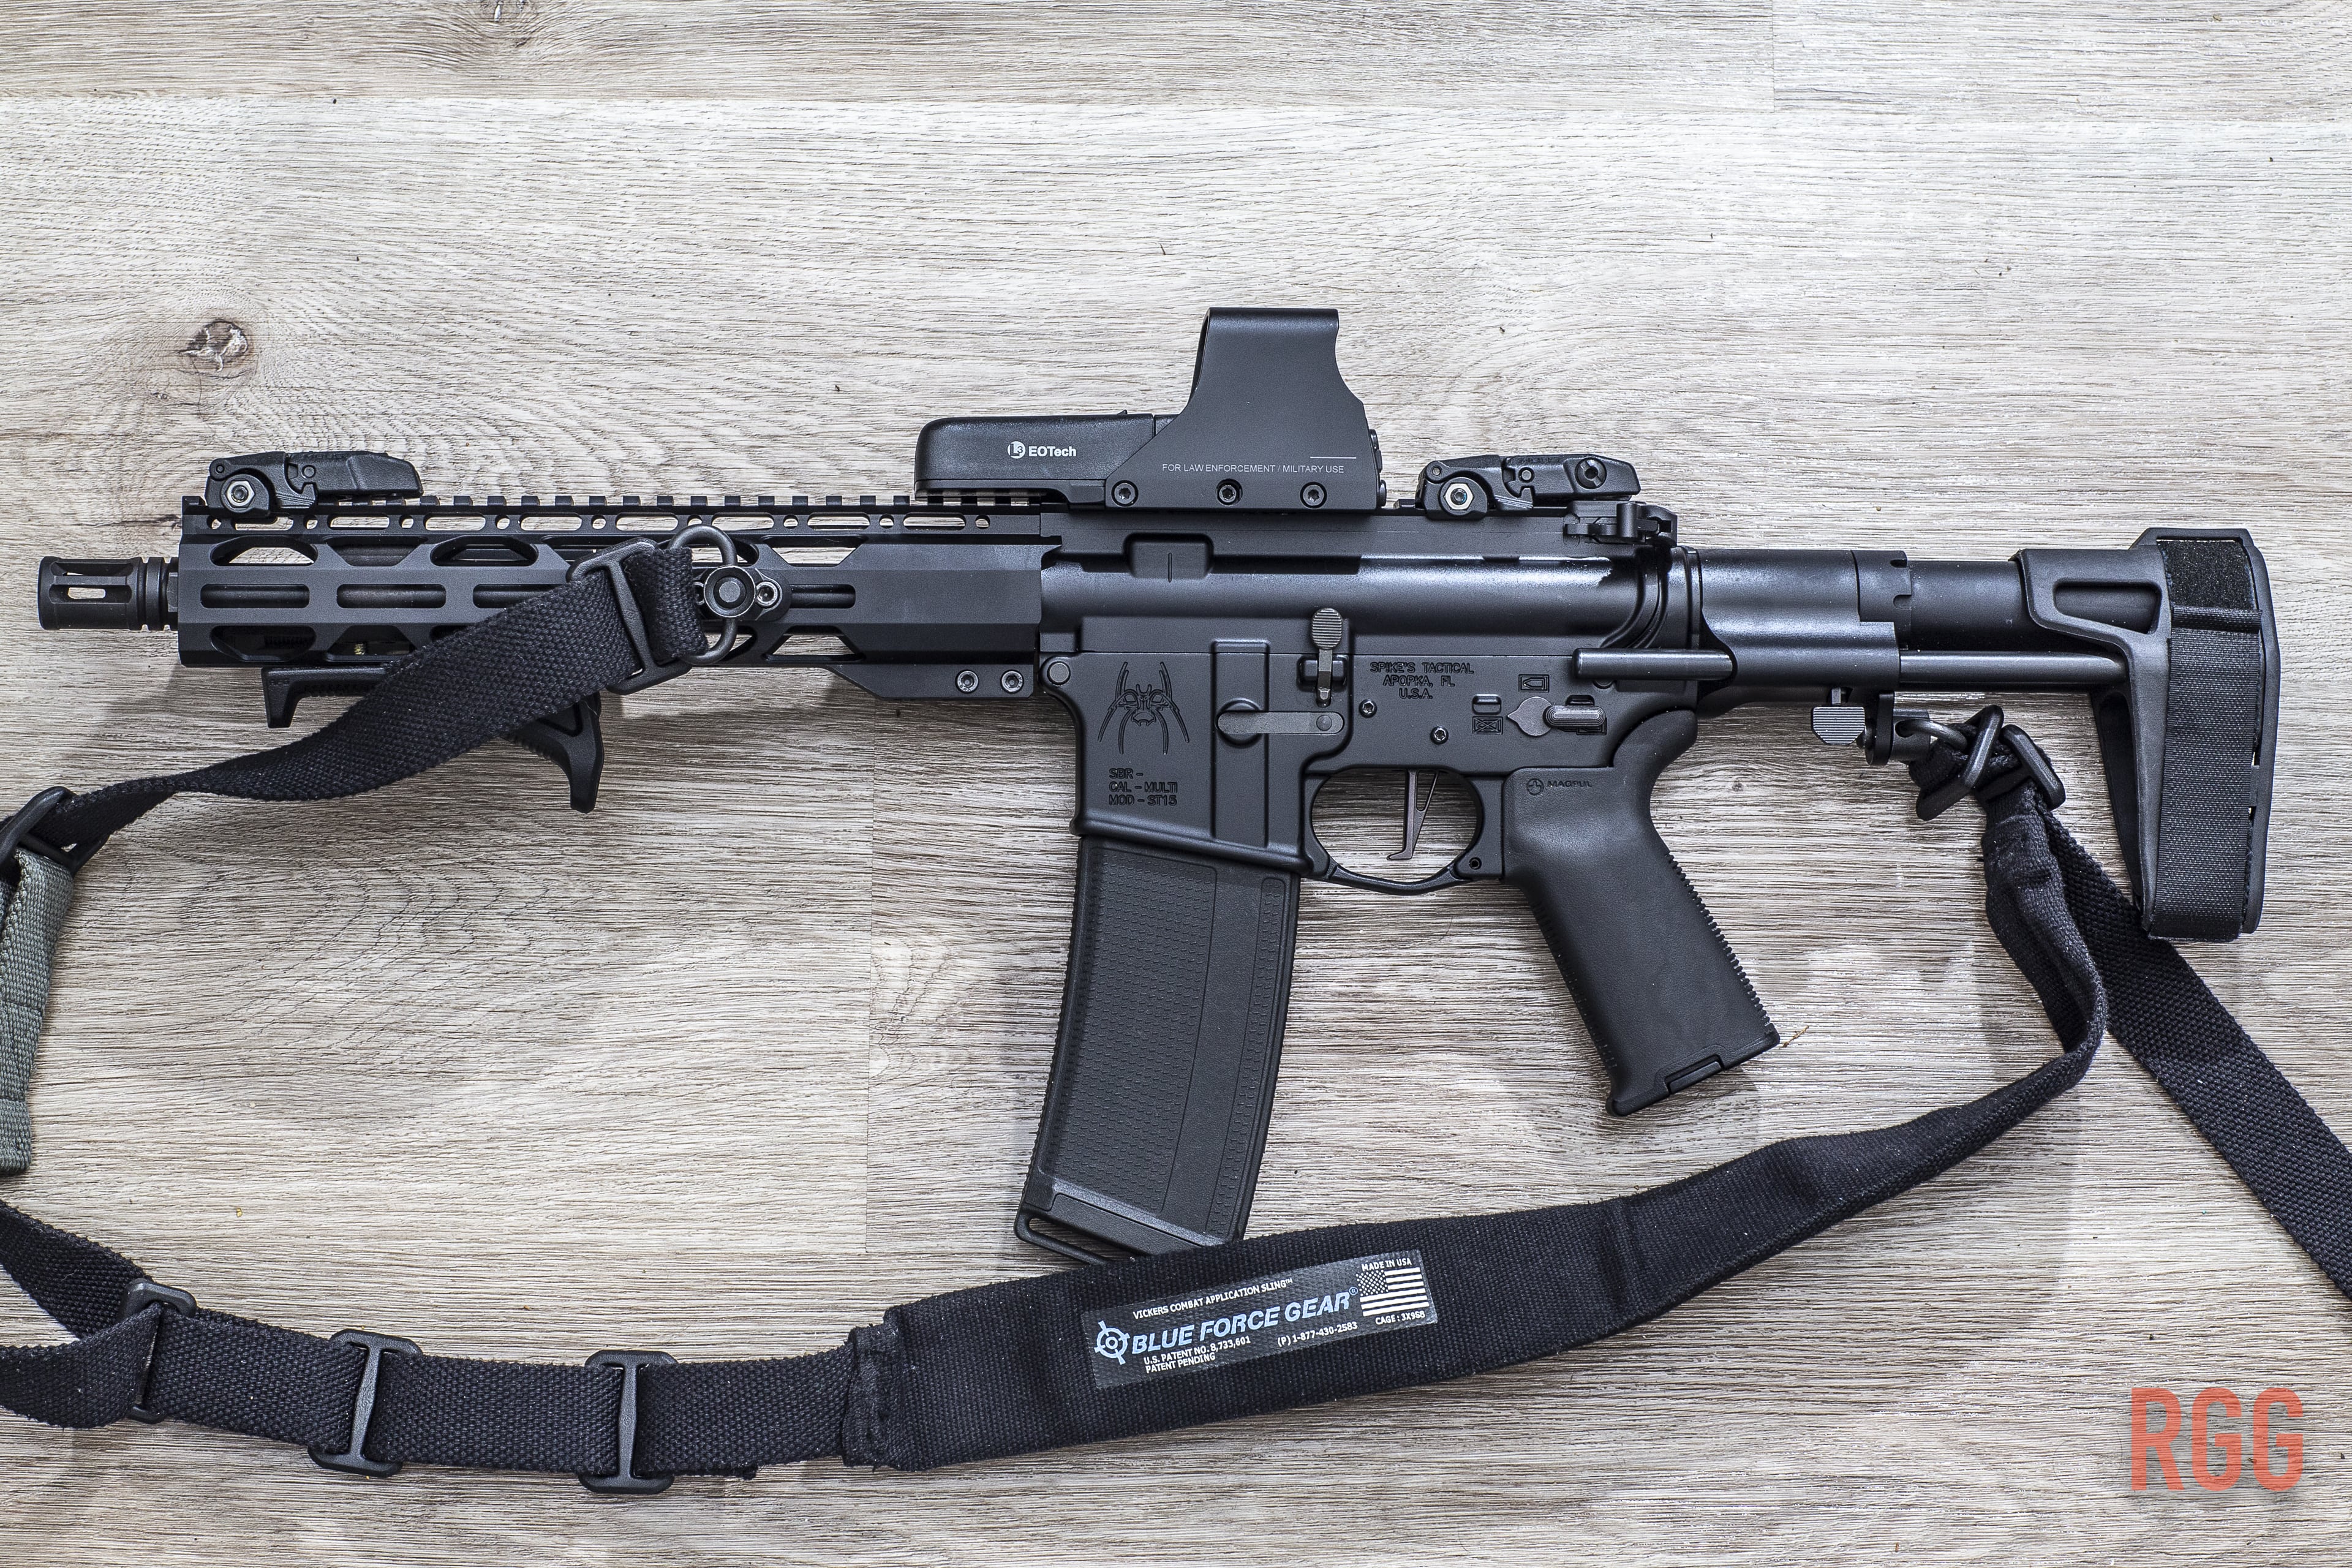
Why Spraypaint Your Rifle or AR/AK Pistol?
Note: I’m just covering rattlecan with regards to larger firearms as it’s the most common. You could rattlecan your GLOCK, but the small size and intricacies of the action (i.e. paint gets in there…) wouldn’t make me recommend it.
Yes, your black rifle or AR/AK pistol works just fine without some fancy color schemes and colorways. It goes bang and hopefully your bangs are accurate and precise. And yes, if it’s your daily driver, maybe just leave it be.
However, consider this. Giving your firearm a good session with the rattlecan has a big benefit of reducing visibility. In the regular world, why would you want to do that? On a mundane level, if you are hunting, breaking up the uniformity of your AR (yes, people hunt with ARs…) has a huge benefit. Animals can see things that don’t look right. To them, a black rifle doesn’t look right.
Along those lines, reducing your rifle’s visibility can brook dividends on the more-than-insiginficant chance the world goes sideways, and having to worry about your visibility in a dynamic and dangerous environment becomes the norm. What can’t be seen cannot be targeted.
Yes, let’s be honest – rattlecanning your rifle is a fun and cool project. All it takes is a few hours, spread over a few days maybe, of your time, and perhaps $20-$30.
With that out of the way, you’ll of course want to know – how do you spray paint your rifle?
Prepare Your Rifle or AR/AK For Painting
Before you channel your inner Basquiat and bust out the Krylon, you’ll need to do some prep work. Even when you clean it normally, your gun has patches of lubricant, fouling, and the like here and there. Spray paint won’t adhere to a surface with oil on it. So you’ll need to take it down to clean and degrease it.
You’ll want to also take off any accessories for this part. Optic, foregrip, Picatinny panels, light, etc. You’ll clean and paint those separately.
In my case, I chose to rattlecan an AR pistol I have. Not the most valuable piece in my inventory, but a good daily driver for this exercise. The nice part of rattlecan is that if you screw it up, you can usually remove the bulk of the paint and start over. Or spray over it. Your call.
Clean And Degrease
Anyway, I took the AR pistol out of it’s safe, ensured it was unloaded, and took it down. I split the upper from the lower, took off the EOTech 512 optic, the BUIS, the handstop, the QD sling mounts, the Inforce WML, the Picatinny panels, the arm brace, and popped out the charging handle and bolt carrier group. I set most of those components aside for separate cleaning and painting.
Then I blasted the upper and lower thoroughly with brake cleaner. The goal here is to remove all grime and oils, and make sure the components are bone dry. I did the same to the rail panels, as they were metal, and a little blast to the metal hood of the EOTech 512 optic.
Partially Reassemble
Next, you’ll want to partially reassemble your firearm. In the case of an AR, you can leave out the charging handle and bolt carrier group since they aren’t going to get painted. Don’t attach any accessories either since you’ll want to paint whatever they normally cover. Pop in a magazine to prevent overspray from getting inside the magwell. It’s not a huge problem if it does, but if the weapon you are working on is your daily driver, it’s best to play it safe.
Tape It Up And Mount It
You’ll want to tape up any holes that lead to the interior of the gun. The idea is to prevent paint from getting inside where it could cause a failure. In the case of an AR, tape up the charging handle opening, the forward assist (there’s enough of a gap where paint can get in) and also the muzzle device. It’s not such a huge deal with an A2 flash hider, but if you have something specific, i.e. a muzzle device for a suppressor, you’ll want to cover that up. You don’t want those threads getting gummed up with paint and causing issues mounting your can.
Now, mount your gun. If you have the space, hang it from above using fishing wire. This will let you get at everything all at once. If you don’t have the setup, there’s nothing wrong with just laying it on cardboard and having at it. Of course, wherever you spray, make sure it’s well-ventilated. You don’t want to get ripped on those fumes.
Rattlecan That Boomstick
I’m not going to dive into the specifics of which brand of paint to select. But to make it quick, Rust-Oleum, Krylon, and Brownells Alumahyde work the best. Rust-Oleum has a variant specifically for outdoor gear, and of course we all know Brownells Alumahyde will work well.
The big question you’ll have is – what colors should I use?
What Colors And Pattern To Spray Paint Your Gun With?
The moment of truth is here. Your AR or other fine firearm is cleaned, taped, mounted and prepped. You’re ready to rock. So, what colors should you use?
If it is really just for arts and crafts, paint it however you want. Go bright red if you feel like it. Render a Jackson Pollock tribute all over it. It’s up to you.
However, if this is a practical decision, you’ll want to scope out your local area of operations. Go outside, take a look at the plant life and other colors around you. If you are really in an urban area, you’ll probably end up sticking with greys, browns, and blacks. If you’re out in the burbs in the eastern part of the US and the South, you’ll want to trend into the greens more. Out west, browns, beige, even hints of burnt orange. Consult a camouflage map to really take a deep dive into colors.
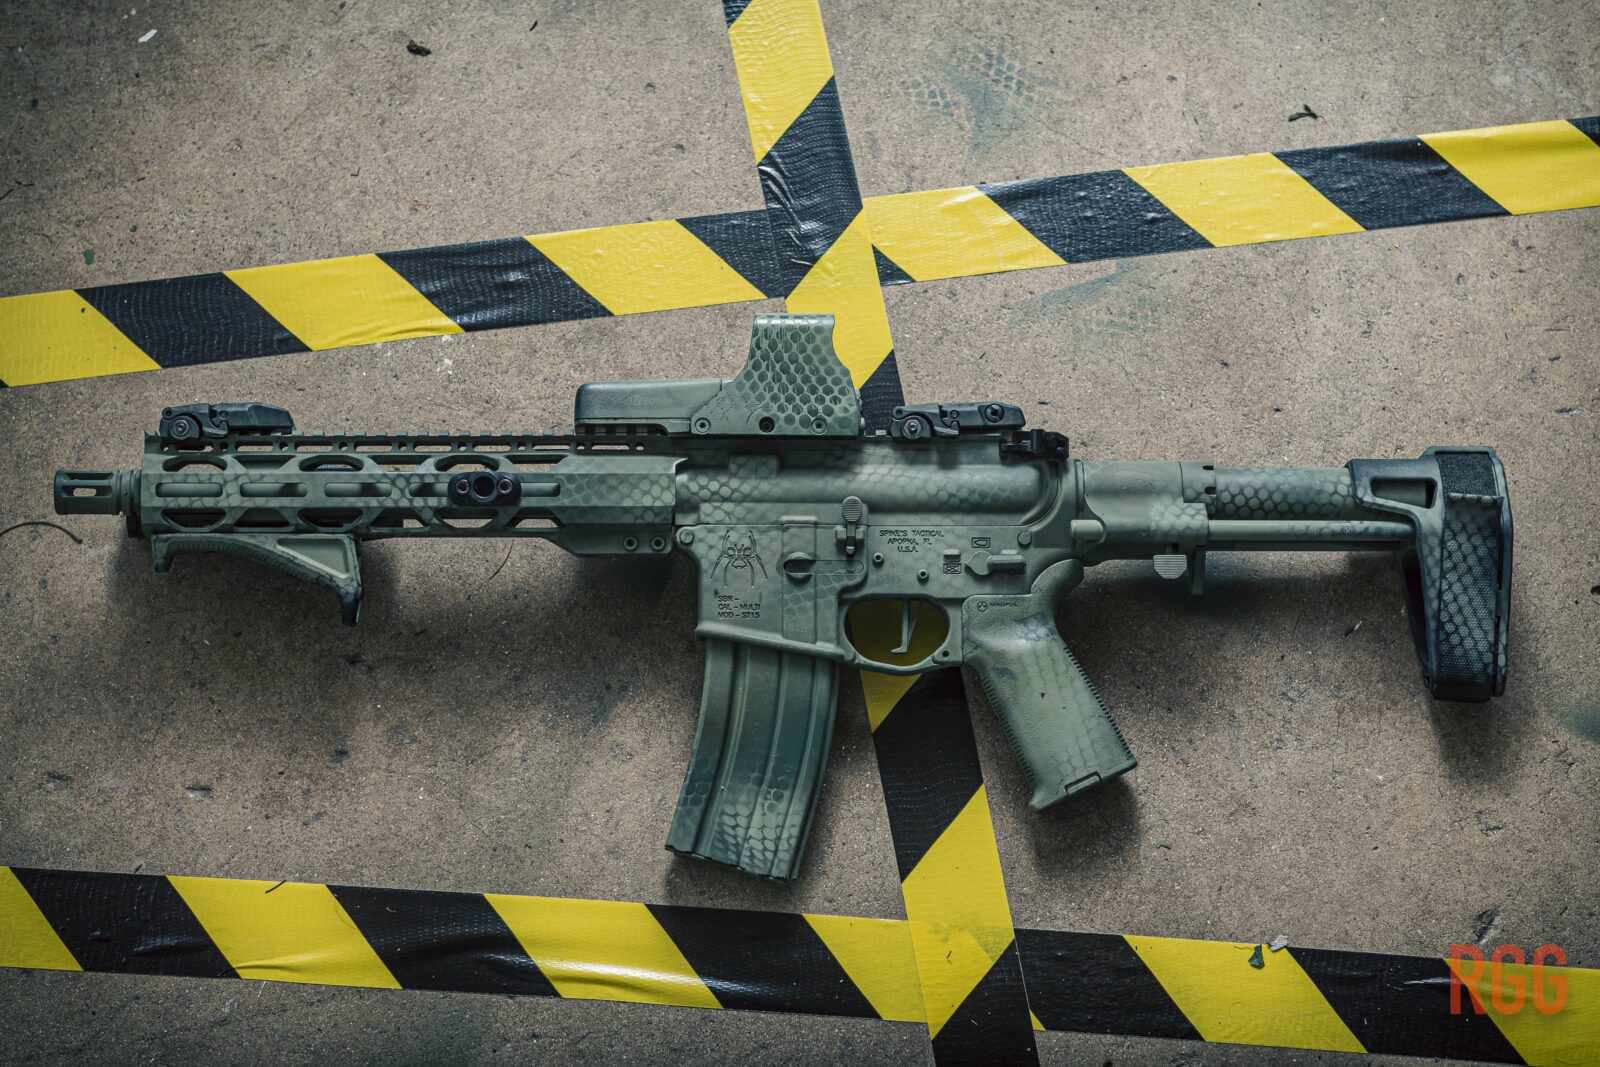
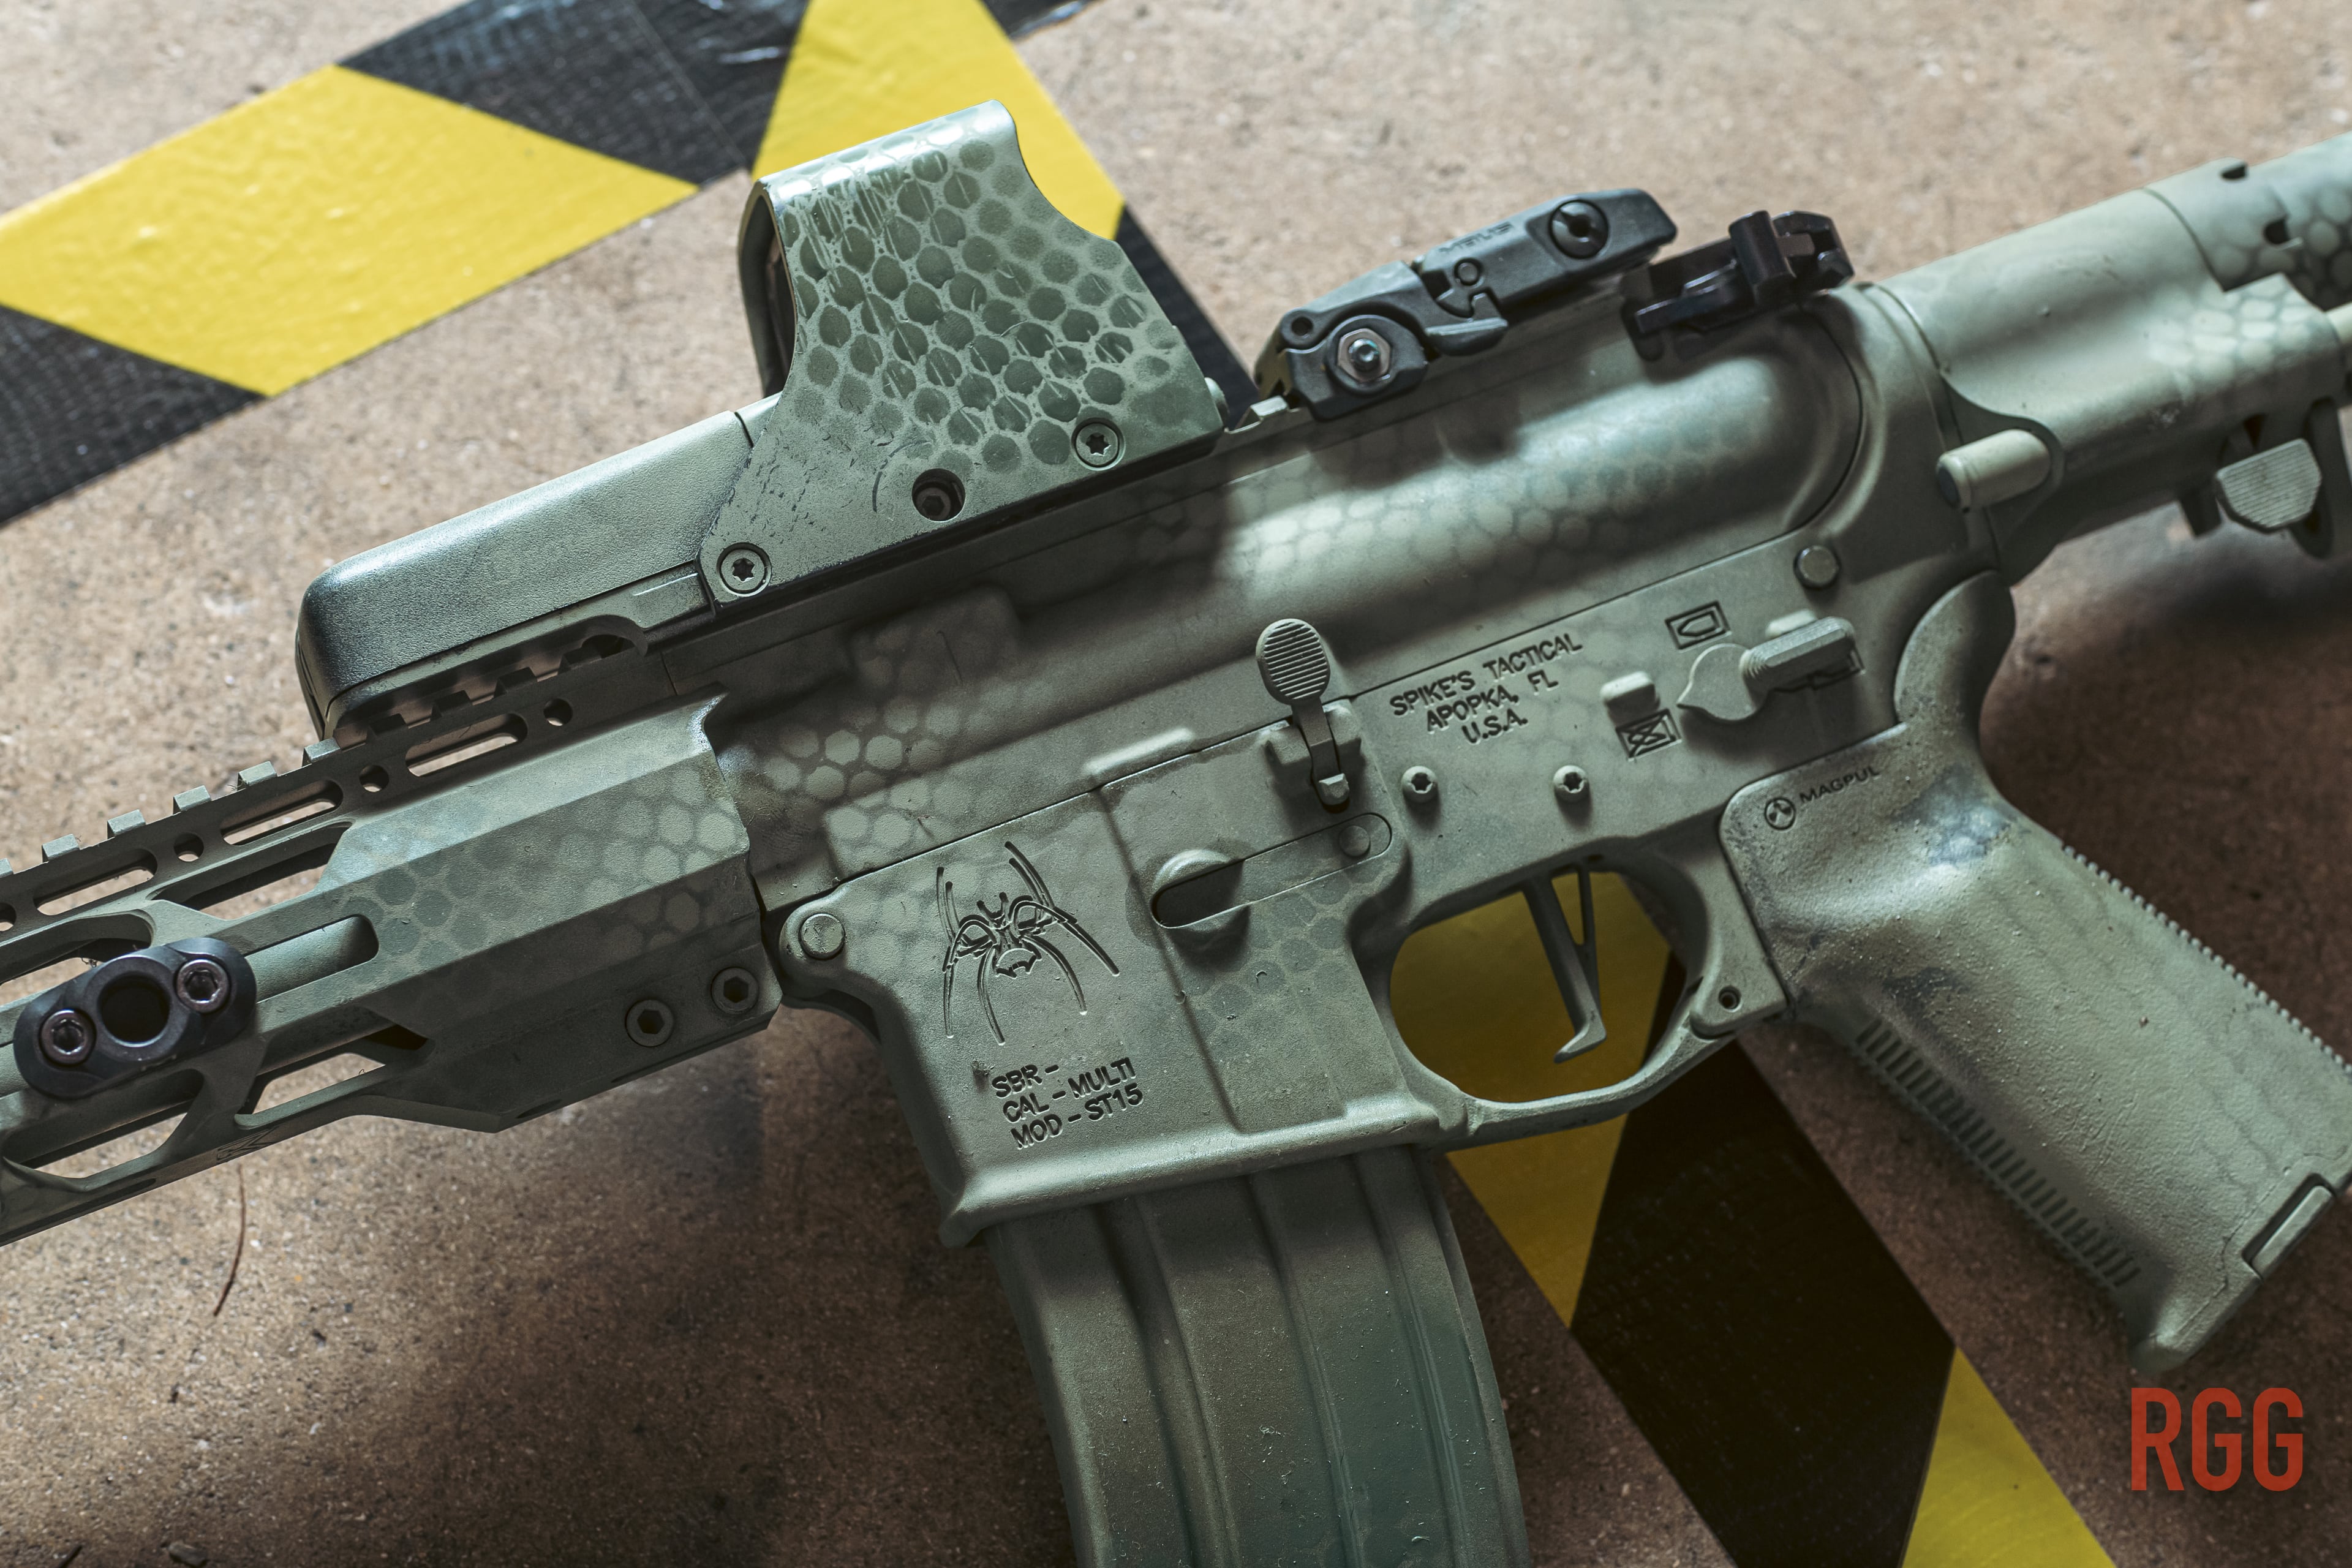
As far as patterns, it’s really kind of up to you. The idea here is to break up the outline of the gun so a casual viewer out in the world won’t immediately think “gun”. You can get stencils for the various military camo patterns if you want. Most choose to just lay plant matter over their gun and use that to break things up a little. I went a little weird and laid a net over part of my AR pistol to produce a neat “scales” pattern in places.
The Moment Of Truth – Paint!
Finally, you can get down to business and rattlecan away. Technique is important. One thing I can recommend, if possible, is to maybe use an aluminum magazine or similar component to practice on. I had an old AR upper lying around that I don’t plan on using for anything serious, so I practiced on that.
The first thing you’ll want to do is apply a base coat. Pick the lightest of the colors first, and paint from back to front. You’ll just want to keep it to one direction to make sure the coverage is even. If you have your gun laying on cardboard, let the coat on one side dry a little for 15 minutes, carefully flip it over, and do the other side.
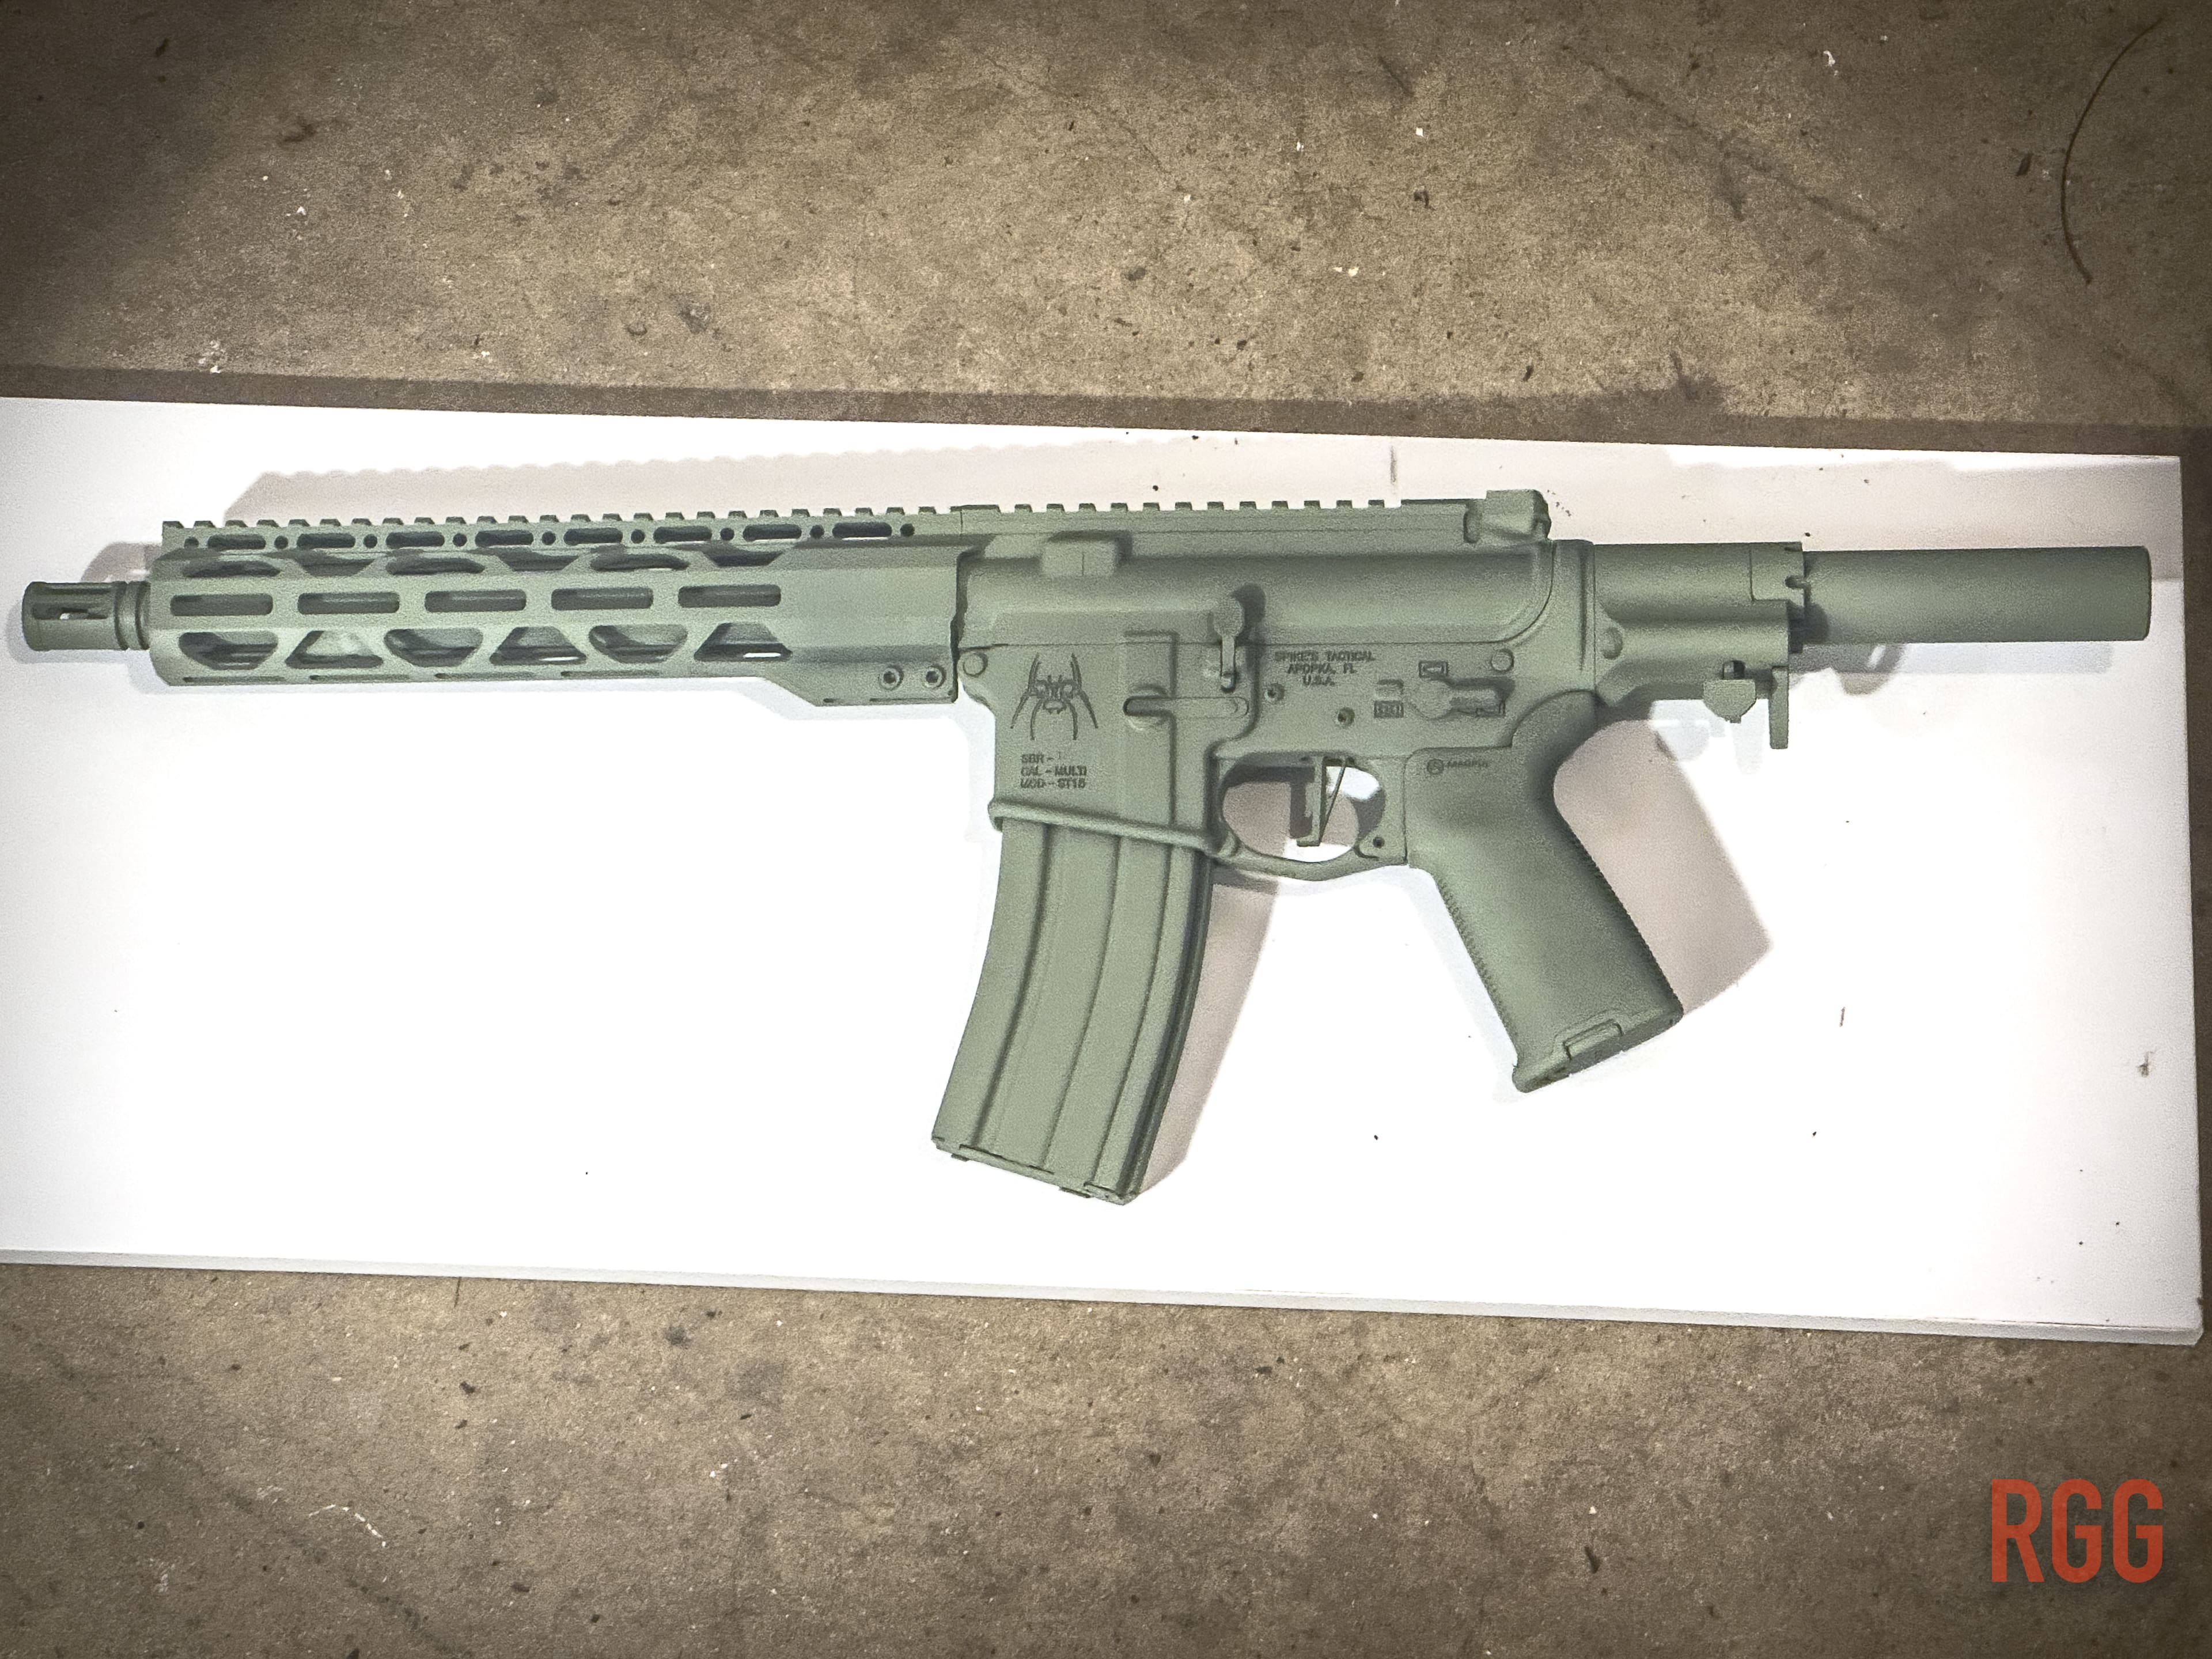
Now, some say you can wait an hour before doing the subsequent colors, but I chose to be a little fastidious about the process and I waited a day before going on to the next round of painting. I let the base coat dry to a nice, even, and flat surface. While I was waiting, I did all the accessories in a similar base coat. EOTech optic, brace strap, Picatinny adapters, WML, handstop, BUIS, and so on. For the optic I taped up the glass, of course.
With the wait out of the way I proceeded to do the accents. I used some random fronds from around the yard to provide “stenciling” in an olive drab and then after, did some more accents in forest green using the net I spoke about earlier. For the accessories I just gave them all quick random blasts of different colors. As a friend said, “don’t overthink it”.
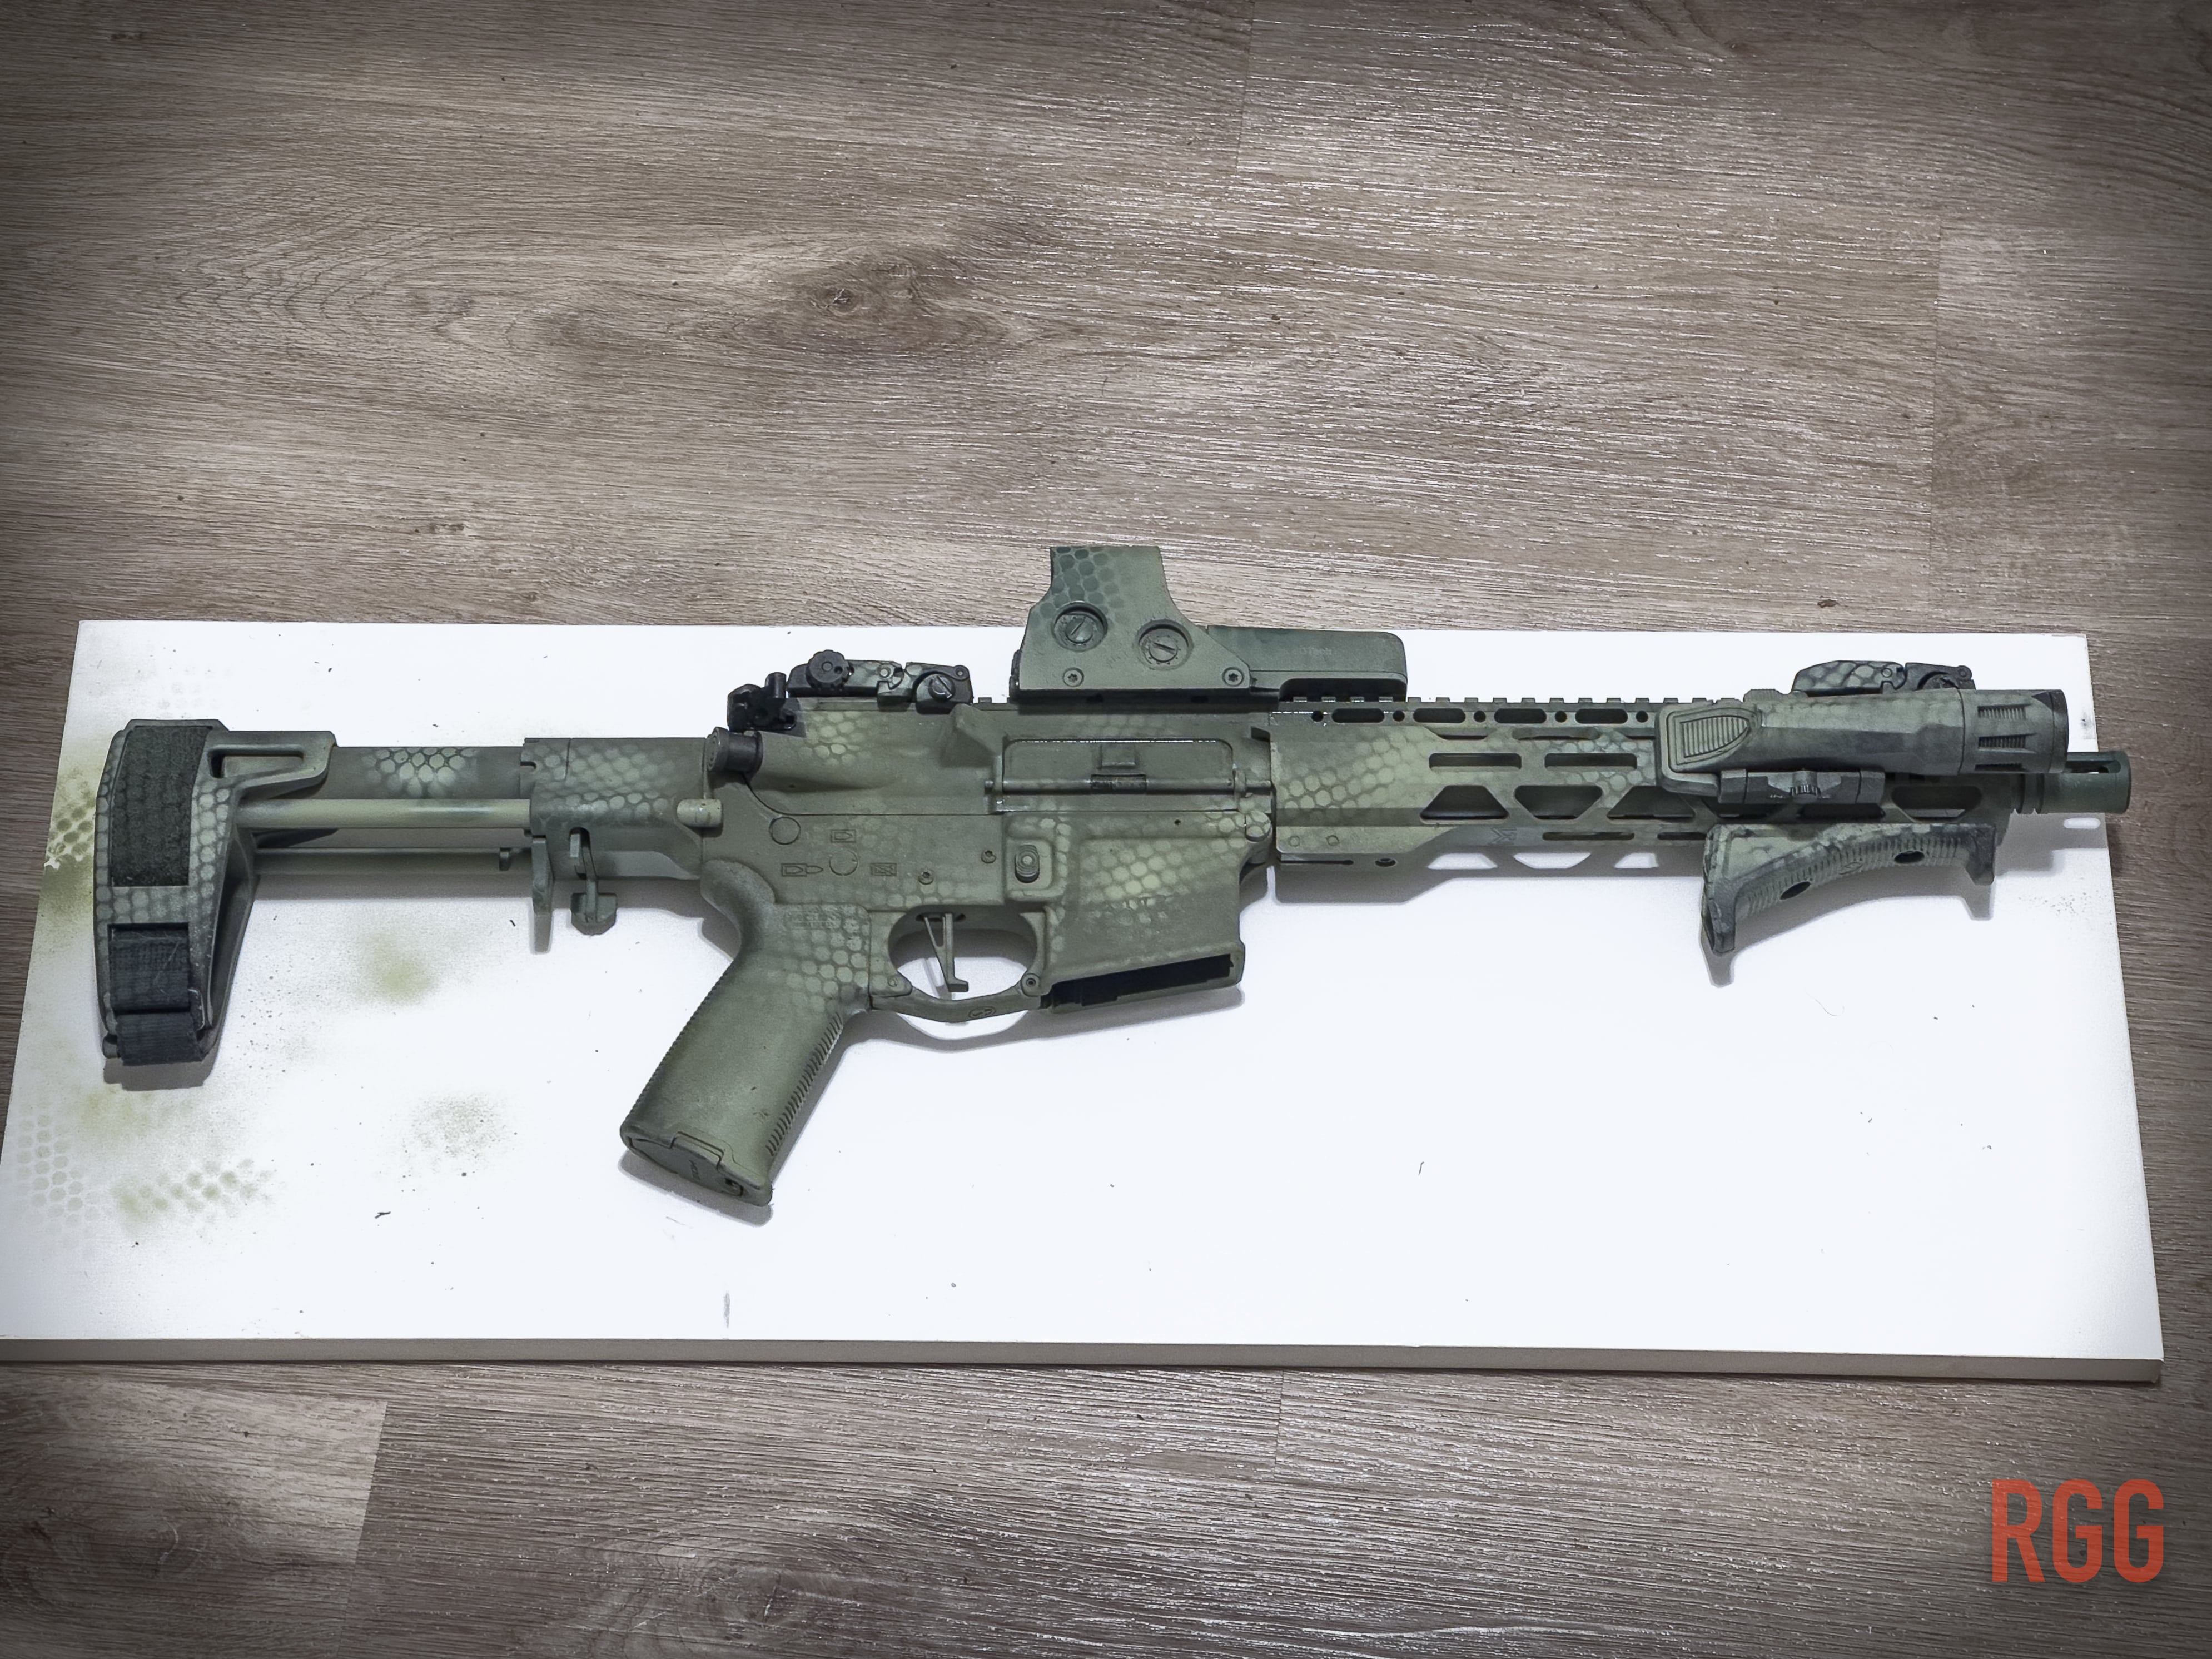
After you’re done, let your new art project sit in a well-ventilated location for 2 or 3 days. By then it’ll all be fully cured and ready to reassemble.
After The Fact
After reassembly, you’ll probably want to admire your handiwork. Go ahead, it’s yours. Snap a few photos for X or the gram. But, remember that in the end, you just decorated your gun with $15 worth of spray paint. No matter what the manufacturer of the paint claims, it’s going to wear down and get dinged. Some will suggest it adds character and that “worn” look enhances the aesthetic. It probably will. Best part is, if it gets too worn, you can just spray it all over again.
Support This Site
Operating Regular Guy Guns and bringing you quality content costs money, money that I am more than happy to spend, even after all these years! I get the occasional sponsor, but bills still have to be paid, ha ha.
You’ll see the articles peppered with affiliate links. I get a few pennies when you make your purchases via my links.
With that in mind I’m offering a whole spectrum of specialty t-shirts, stickers, and daily wear accessories with my own brand of low-key humor. Be a Second Amendment Radical In Style! You’ll also notice affiliate links throughout the articles on this site. Go ahead and click on them and make your purchases. A few pennies and forints go to yours truly. Especially on ammo sales, and now is a very good time to stock up!
Click here to accessorize your life.
Donate Bitcoin: 36wKfH7wgQQna6BByvAe8oiEmdqREUXuYQ
Source link: https://regularguyguns.com/2024/04/04/Rattlecan-Your-Rifle-Arts-And-Crafts-For-The-Second-Amendment-Radical/ by Regular Guy at regularguyguns.com
